fluxcharts logo
Sign In
Tradingview Streamline Icon: https://streamlinehq.com TradingView
Get Started
Flux Charts
>
MTF Supply & Demand Zones
Quick Search...
Getting Started
FAQ
9
Getting Access
1
Discord Connection
4
Quickstart
2
Setup Notifications (Website)
7
Setup Indicators (Website)
5
Setup Indicators (Mobile)
6
Setup Notifications (Mobile)
8
What is Flux Charts?
3
SFX Algo Toolkit
Alerts
8
Gauss Ribbon
4
Introduction
1
Trend Coloring
7
Retracement Wave
6
Volatility Bands
5
Algorithm Settings
2
TP/SL Levels
3
Price Action Toolkit
Alerts
16
Breaker Blocks
5
Sessions
15
Trendlines
10
Introduction
1
Order Blocks
4
Fair Value Gaps
2
Liquidity Grabs
6
Liquidity Levels
11
Market Structures
7
Volume Imbalances
13
MTF Highs/Lows
14
Equal Highs/Lows
8
Multi-Timeframe Analysis
9
Premium & Discount Zones
12
Inversion Fair Value Gaps
3
MTF Supply & Demand Zones
Alerts
5
Introduction
1
Labels
3
Multi-Timeframe Analysis
4
Zones Configuration
2
PAT Screeners
Features
3
General Settings
2
Introduction
1
SFX Screeners
Features
3
Introduction
1
S&D Screeners
Features
3
Introduction
1
General Settings
2
PAT Backtester
Exit Conditions
4
Automation
6
Backtesting Parameters
2
Entry Conditions
3
Introduction
1
Strategy Examples
5
S&D Backtester
Introduction
1
Exit Conditions
4
Entry Conditions
3
Strategy Examples
5
Backtesting Parameters
2
Automation
6
SFX Backtester
Introduction
1
Exit Conditions
4
Entry Conditions
3
Strategy Examples
5
Backtesting Parameters
2
Automation
6
Flux Charts
>
MTF Supply & Demand Zones

MTF Supply & Demand Zones: Labels
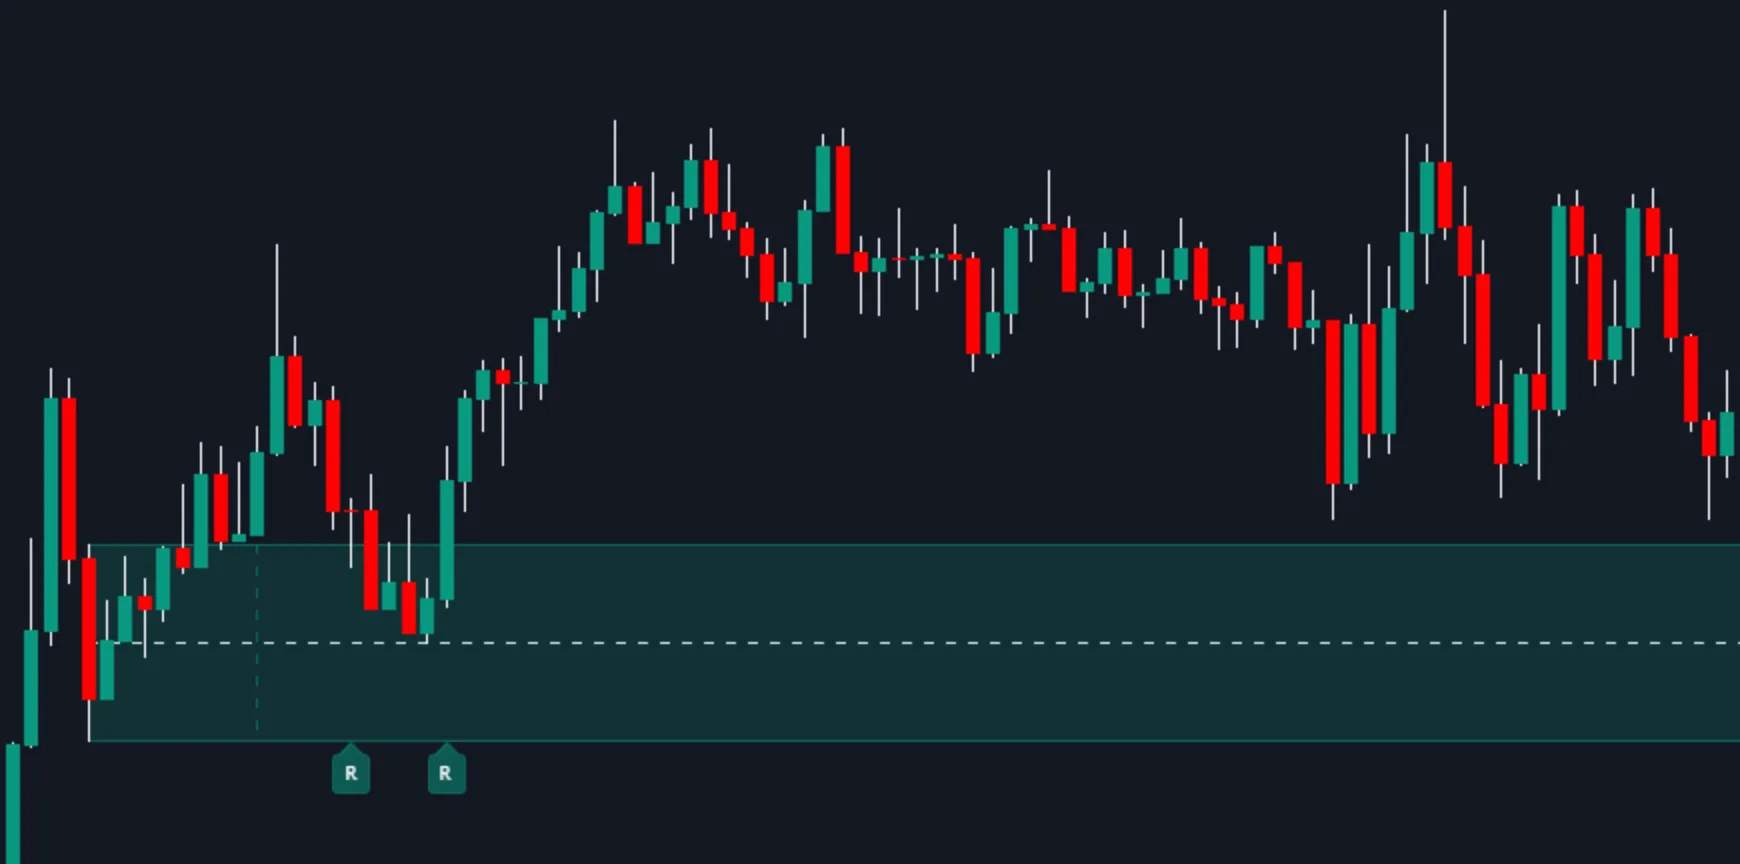
Retest Label (R)

The retest label appears when price retests a supply or demand zone.
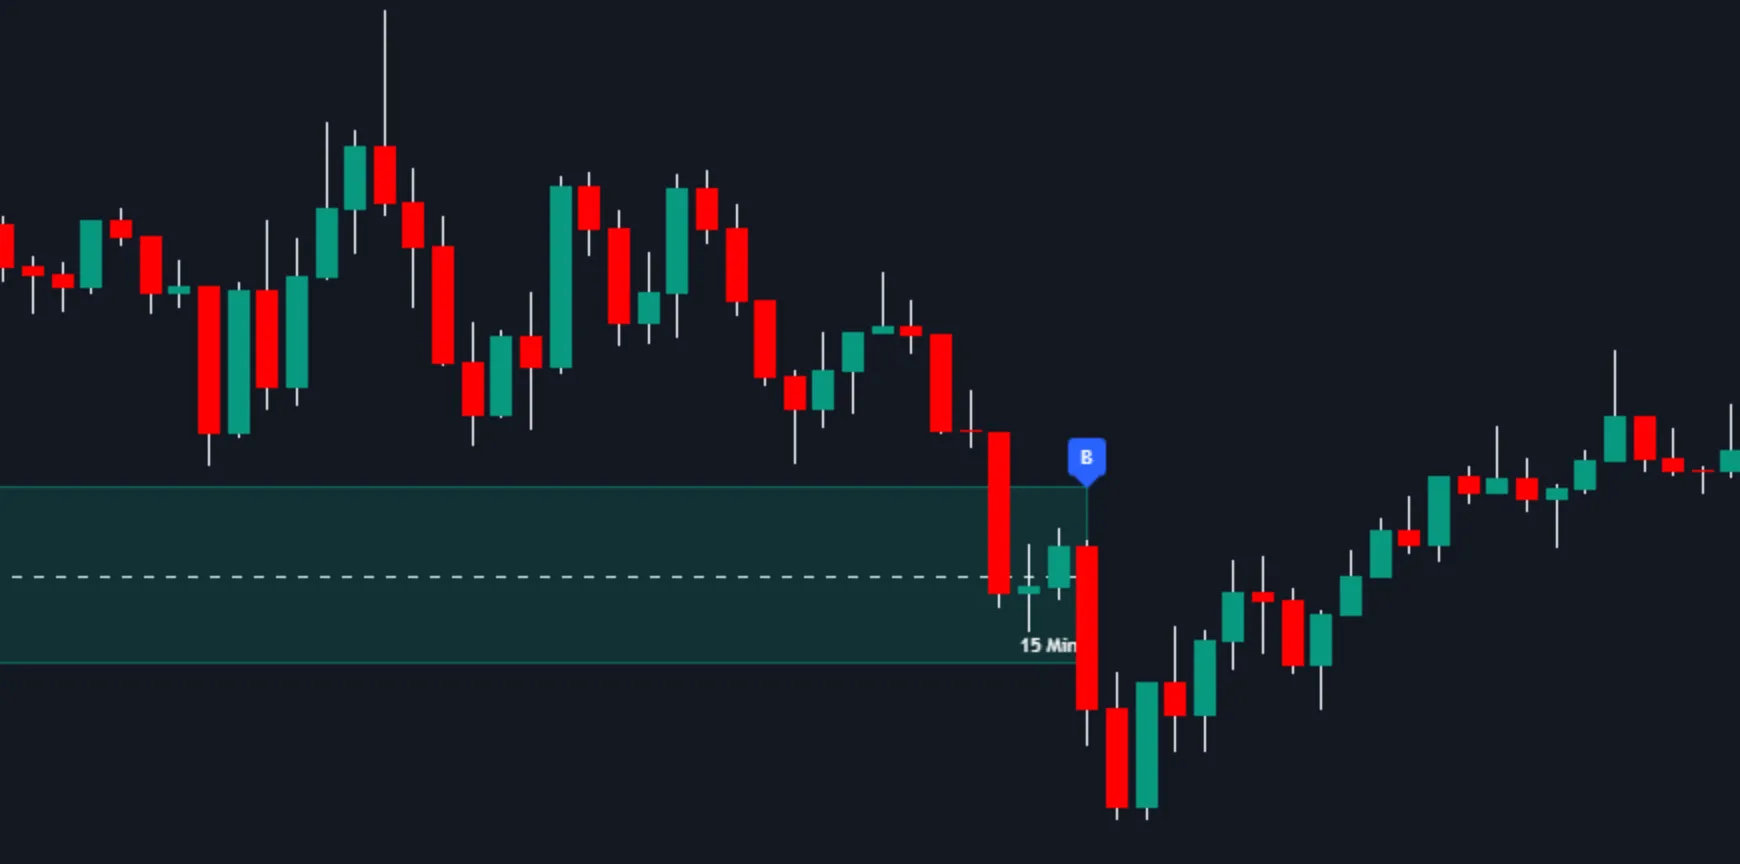
MTF Supply & Demand Zones Retest (R) label

Break Label (B)

The break label appears when a supply or demand zone has been invalidated.

MTF Supply & Demand Zones Break (B) label
On this page
.
.
.
Getting Started
FAQ
9
Getting Access
1
Discord Connection
4
Quickstart
2
Setup Notifications (Website)
7
Setup Indicators (Website)
5
Setup Indicators (Mobile)
6
Setup Notifications (Mobile)
8
What is Flux Charts?
3
SFX Algo Toolkit
Alerts
8
Gauss Ribbon
4
Introduction
1
Trend Coloring
7
Retracement Wave
6
Volatility Bands
5
Algorithm Settings
2
TP/SL Levels
3
Price Action Toolkit
Alerts
16
Breaker Blocks
5
Sessions
15
Trendlines
10
Introduction
1
Order Blocks
4
Fair Value Gaps
2
Liquidity Grabs
6
Liquidity Levels
11
Market Structures
7
Volume Imbalances
13
MTF Highs/Lows
14
Equal Highs/Lows
8
Multi-Timeframe Analysis
9
Premium & Discount Zones
12
Inversion Fair Value Gaps
3
MTF Supply & Demand Zones
Alerts
5
Introduction
1
Labels
3
Multi-Timeframe Analysis
4
Zones Configuration
2
PAT Screeners
Features
3
General Settings
2
Introduction
1
SFX Screeners
Features
3
Introduction
1
S&D Screeners
Features
3
Introduction
1
General Settings
2
PAT Backtester
Exit Conditions
4
Automation
6
Backtesting Parameters
2
Entry Conditions
3
Introduction
1
Strategy Examples
5
S&D Backtester
Introduction
1
Exit Conditions
4
Entry Conditions
3
Strategy Examples
5
Backtesting Parameters
2
Automation
6
SFX Backtester
Introduction
1
Exit Conditions
4
Entry Conditions
3
Strategy Examples
5
Backtesting Parameters
2
Automation
6